
How does a writing automaton work?
Mechanisms inside mechanical writing machines — including a DIY writing automaton kit for laser cutter or scroll saw
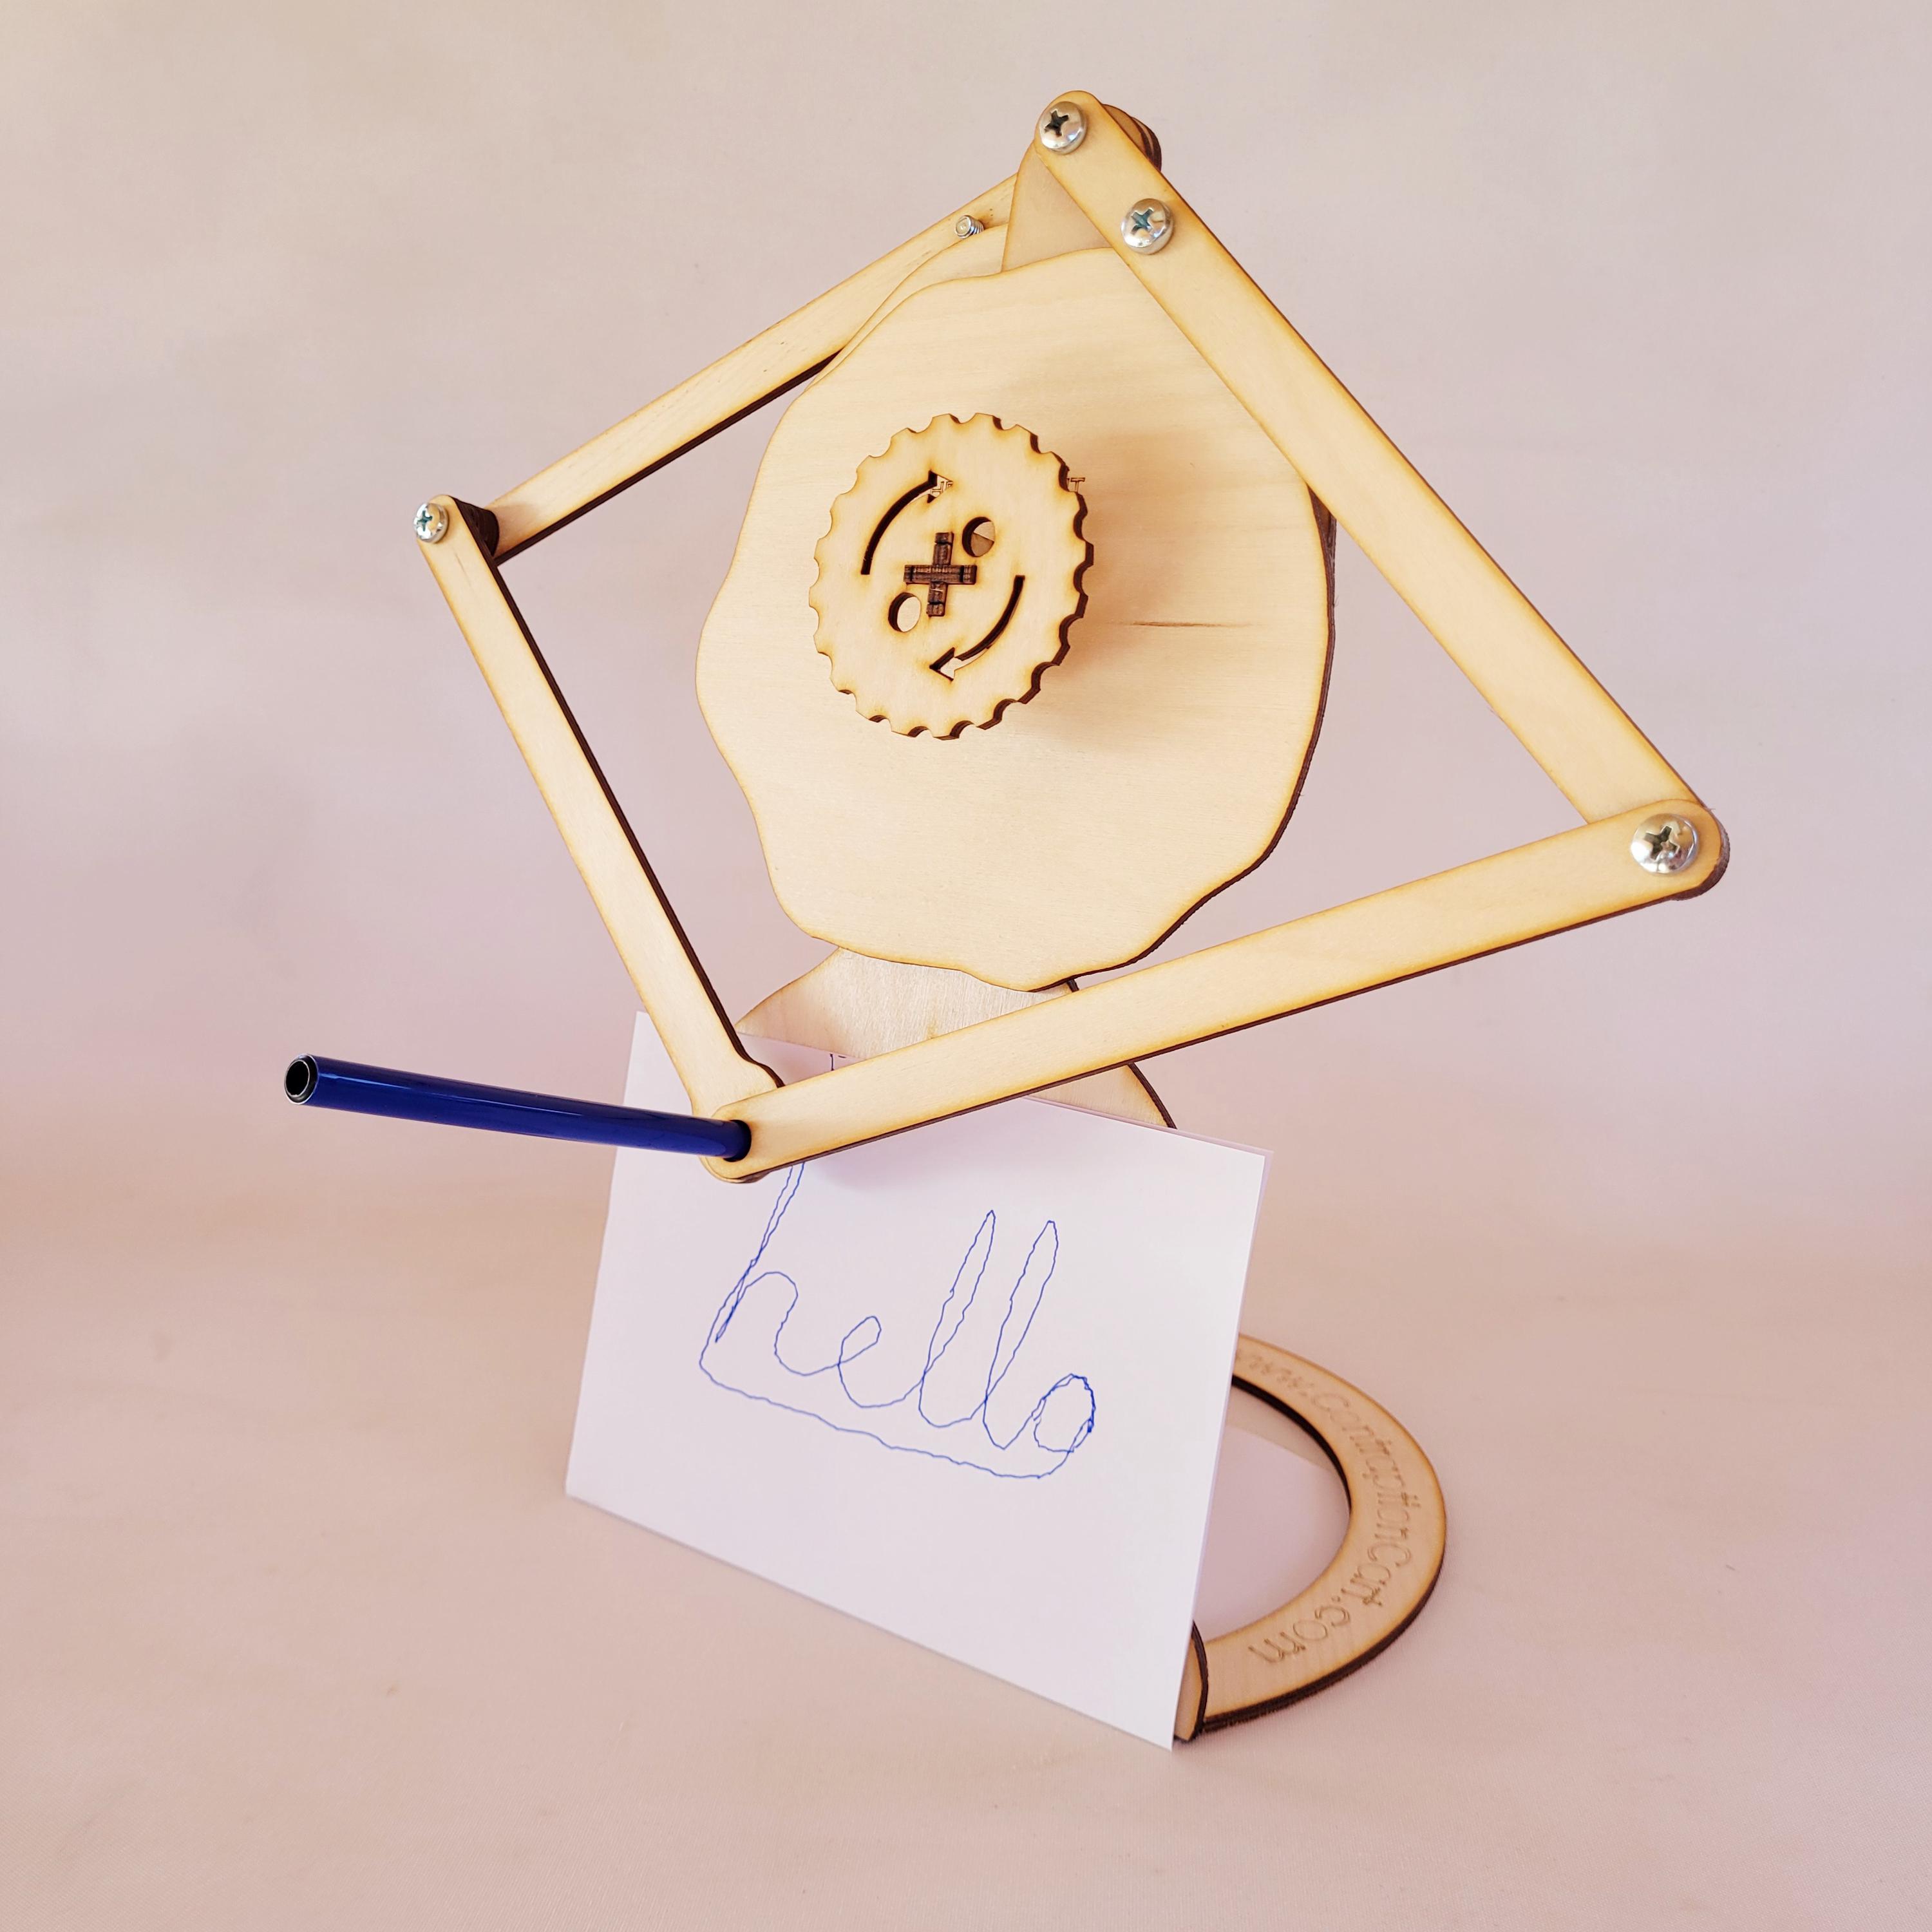
I have always found writing automata among the most fascinating automata kits. Seeing your own handwriting emerge from a machine really encapsulates the illusion of life that traditional automata makers pursued. I have designed a few writing machines over the years and will discuss the mechanisms and considerations here. The original inspiration came from elaborate clockwork writing automata made in the 18th and 19th centuries. These were often very complex, such as the boy made by Maillardet that could write and draw pictures. My goal was to design something much simpler that people could make at home from a DIY kit. I have come across three different approaches for writing automata. The classical ones tended to use a telescopic forearm that pivoted at the elbow. Other options are to use a two-axis gimbal or a pantograph.
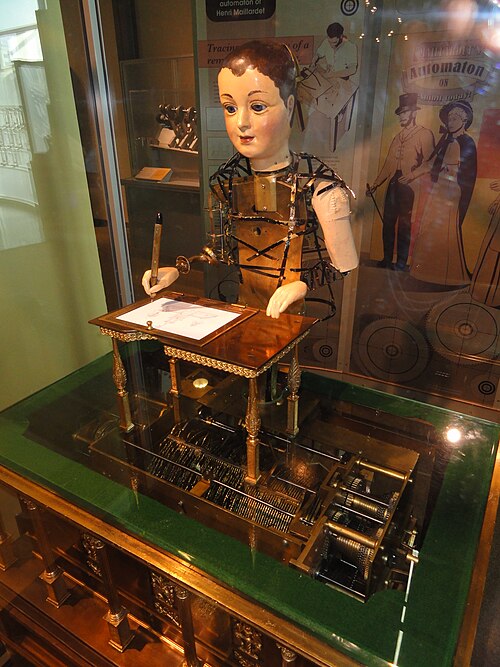
Gimbal
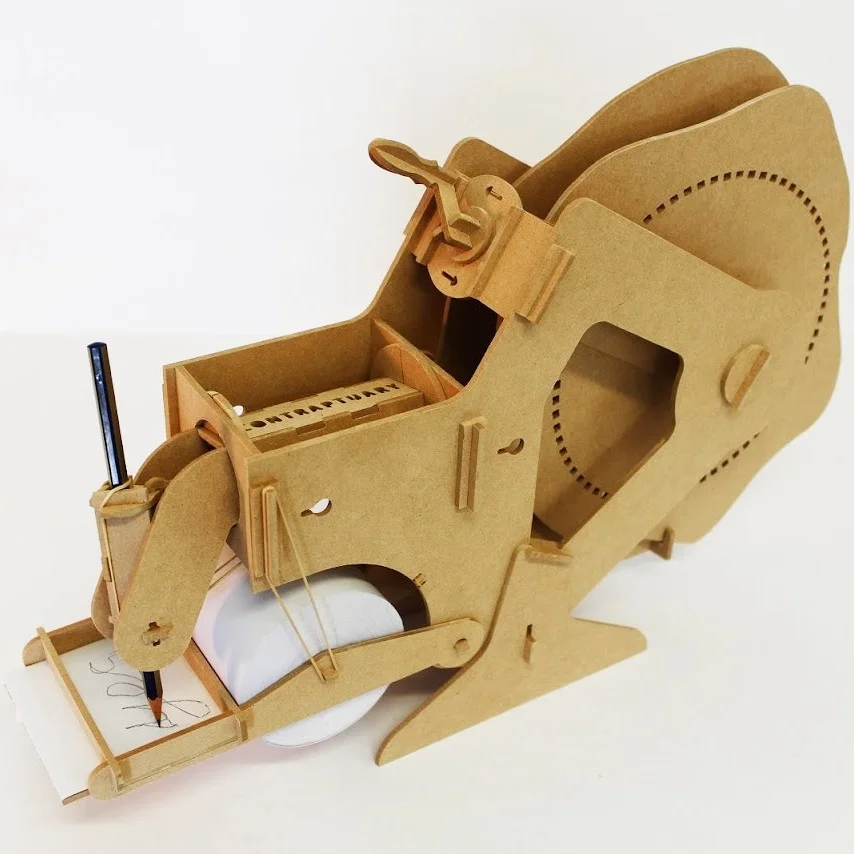
The first writing automaton I made used the gimbal approach. I named it Scriblo, and it was made with all CNC-routed parts. The pencil could pivot and yaw about its centre, each motion controlled by a separate cam. Since the pencil tip traces an arc, the page must sit on a spring-loaded pivot to maintain contact with the pencil. The page was a removable receipt roll so you could tear off your message and pull in fresh paper. The linkages connecting the gimbal to the cam followers were also rigid laser-cut wood.
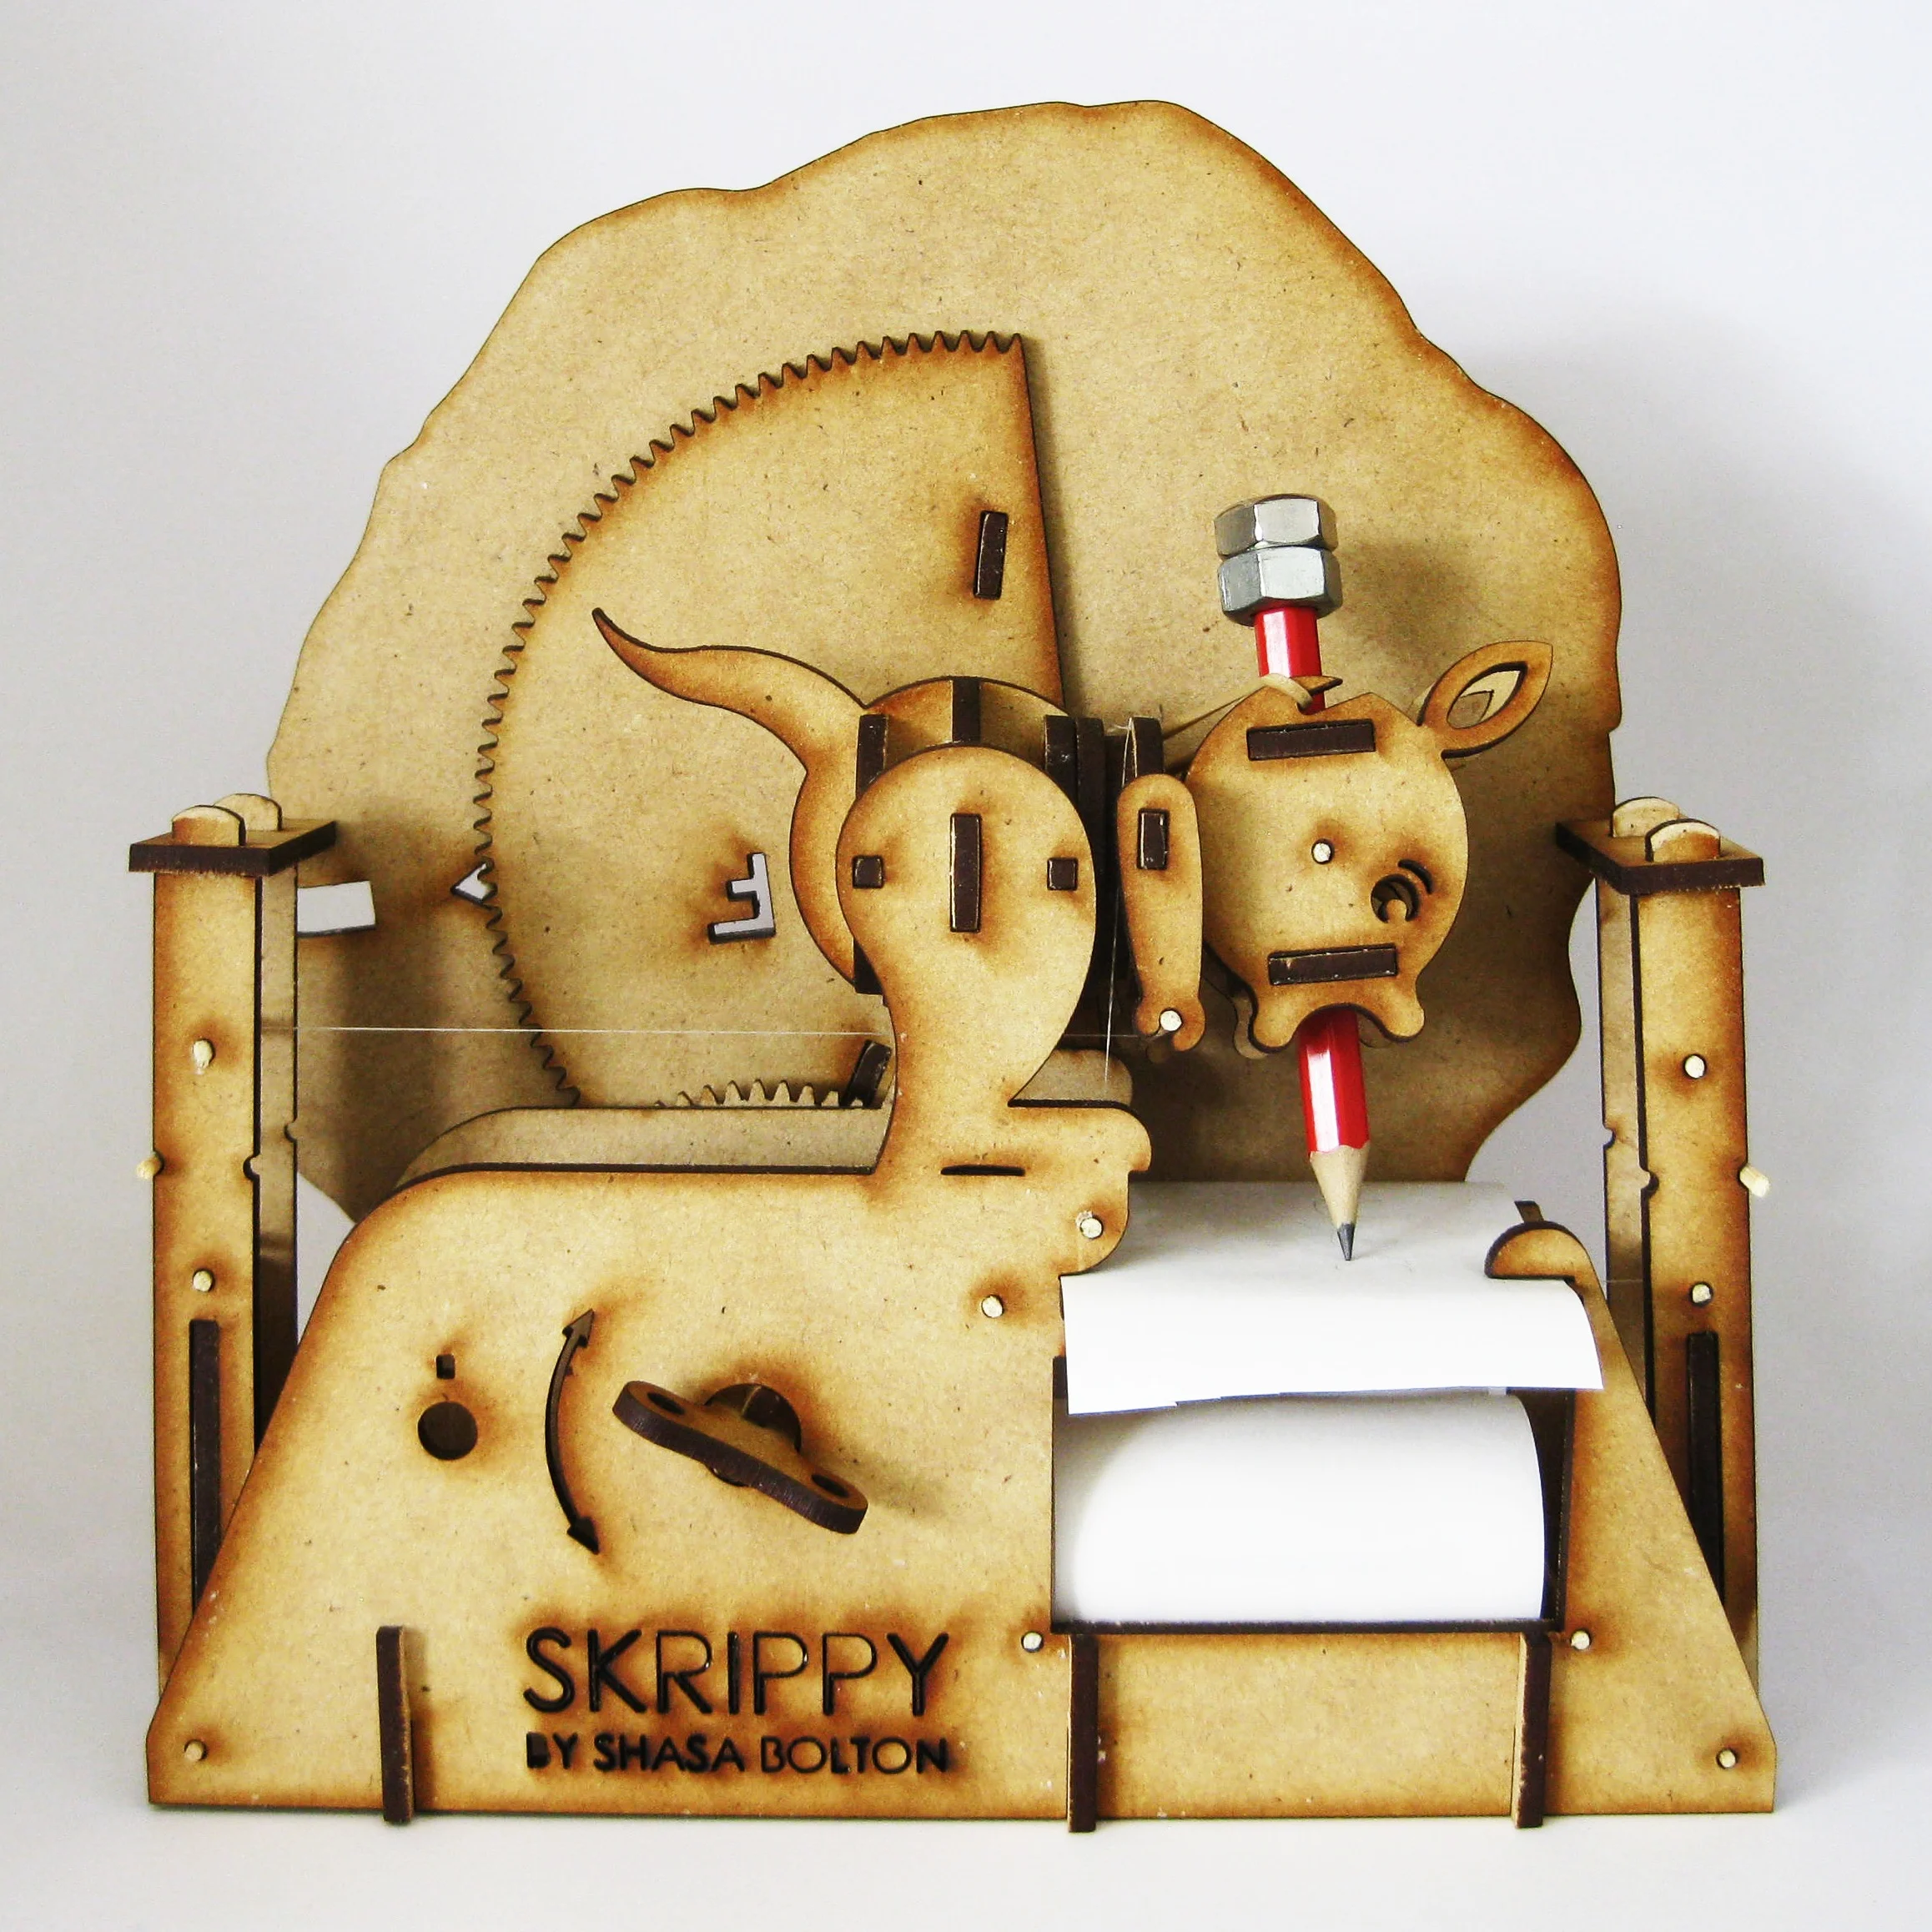
The next design was similar but aimed at shrinking everything down and making it look more like a character. This is a little kangaroo named Skrippy. It used FireLine cables rather than rigid linkages. This helped reduce the size, but was fiddlier to assemble and tension. It also used only one cam, with each half allocated to pitch and yaw of the pencil. The pencil also slid inside the gimbal rather than using a spring-loaded page. This required a couple of nuts on the pencil to weigh it down.
Pantograph approach
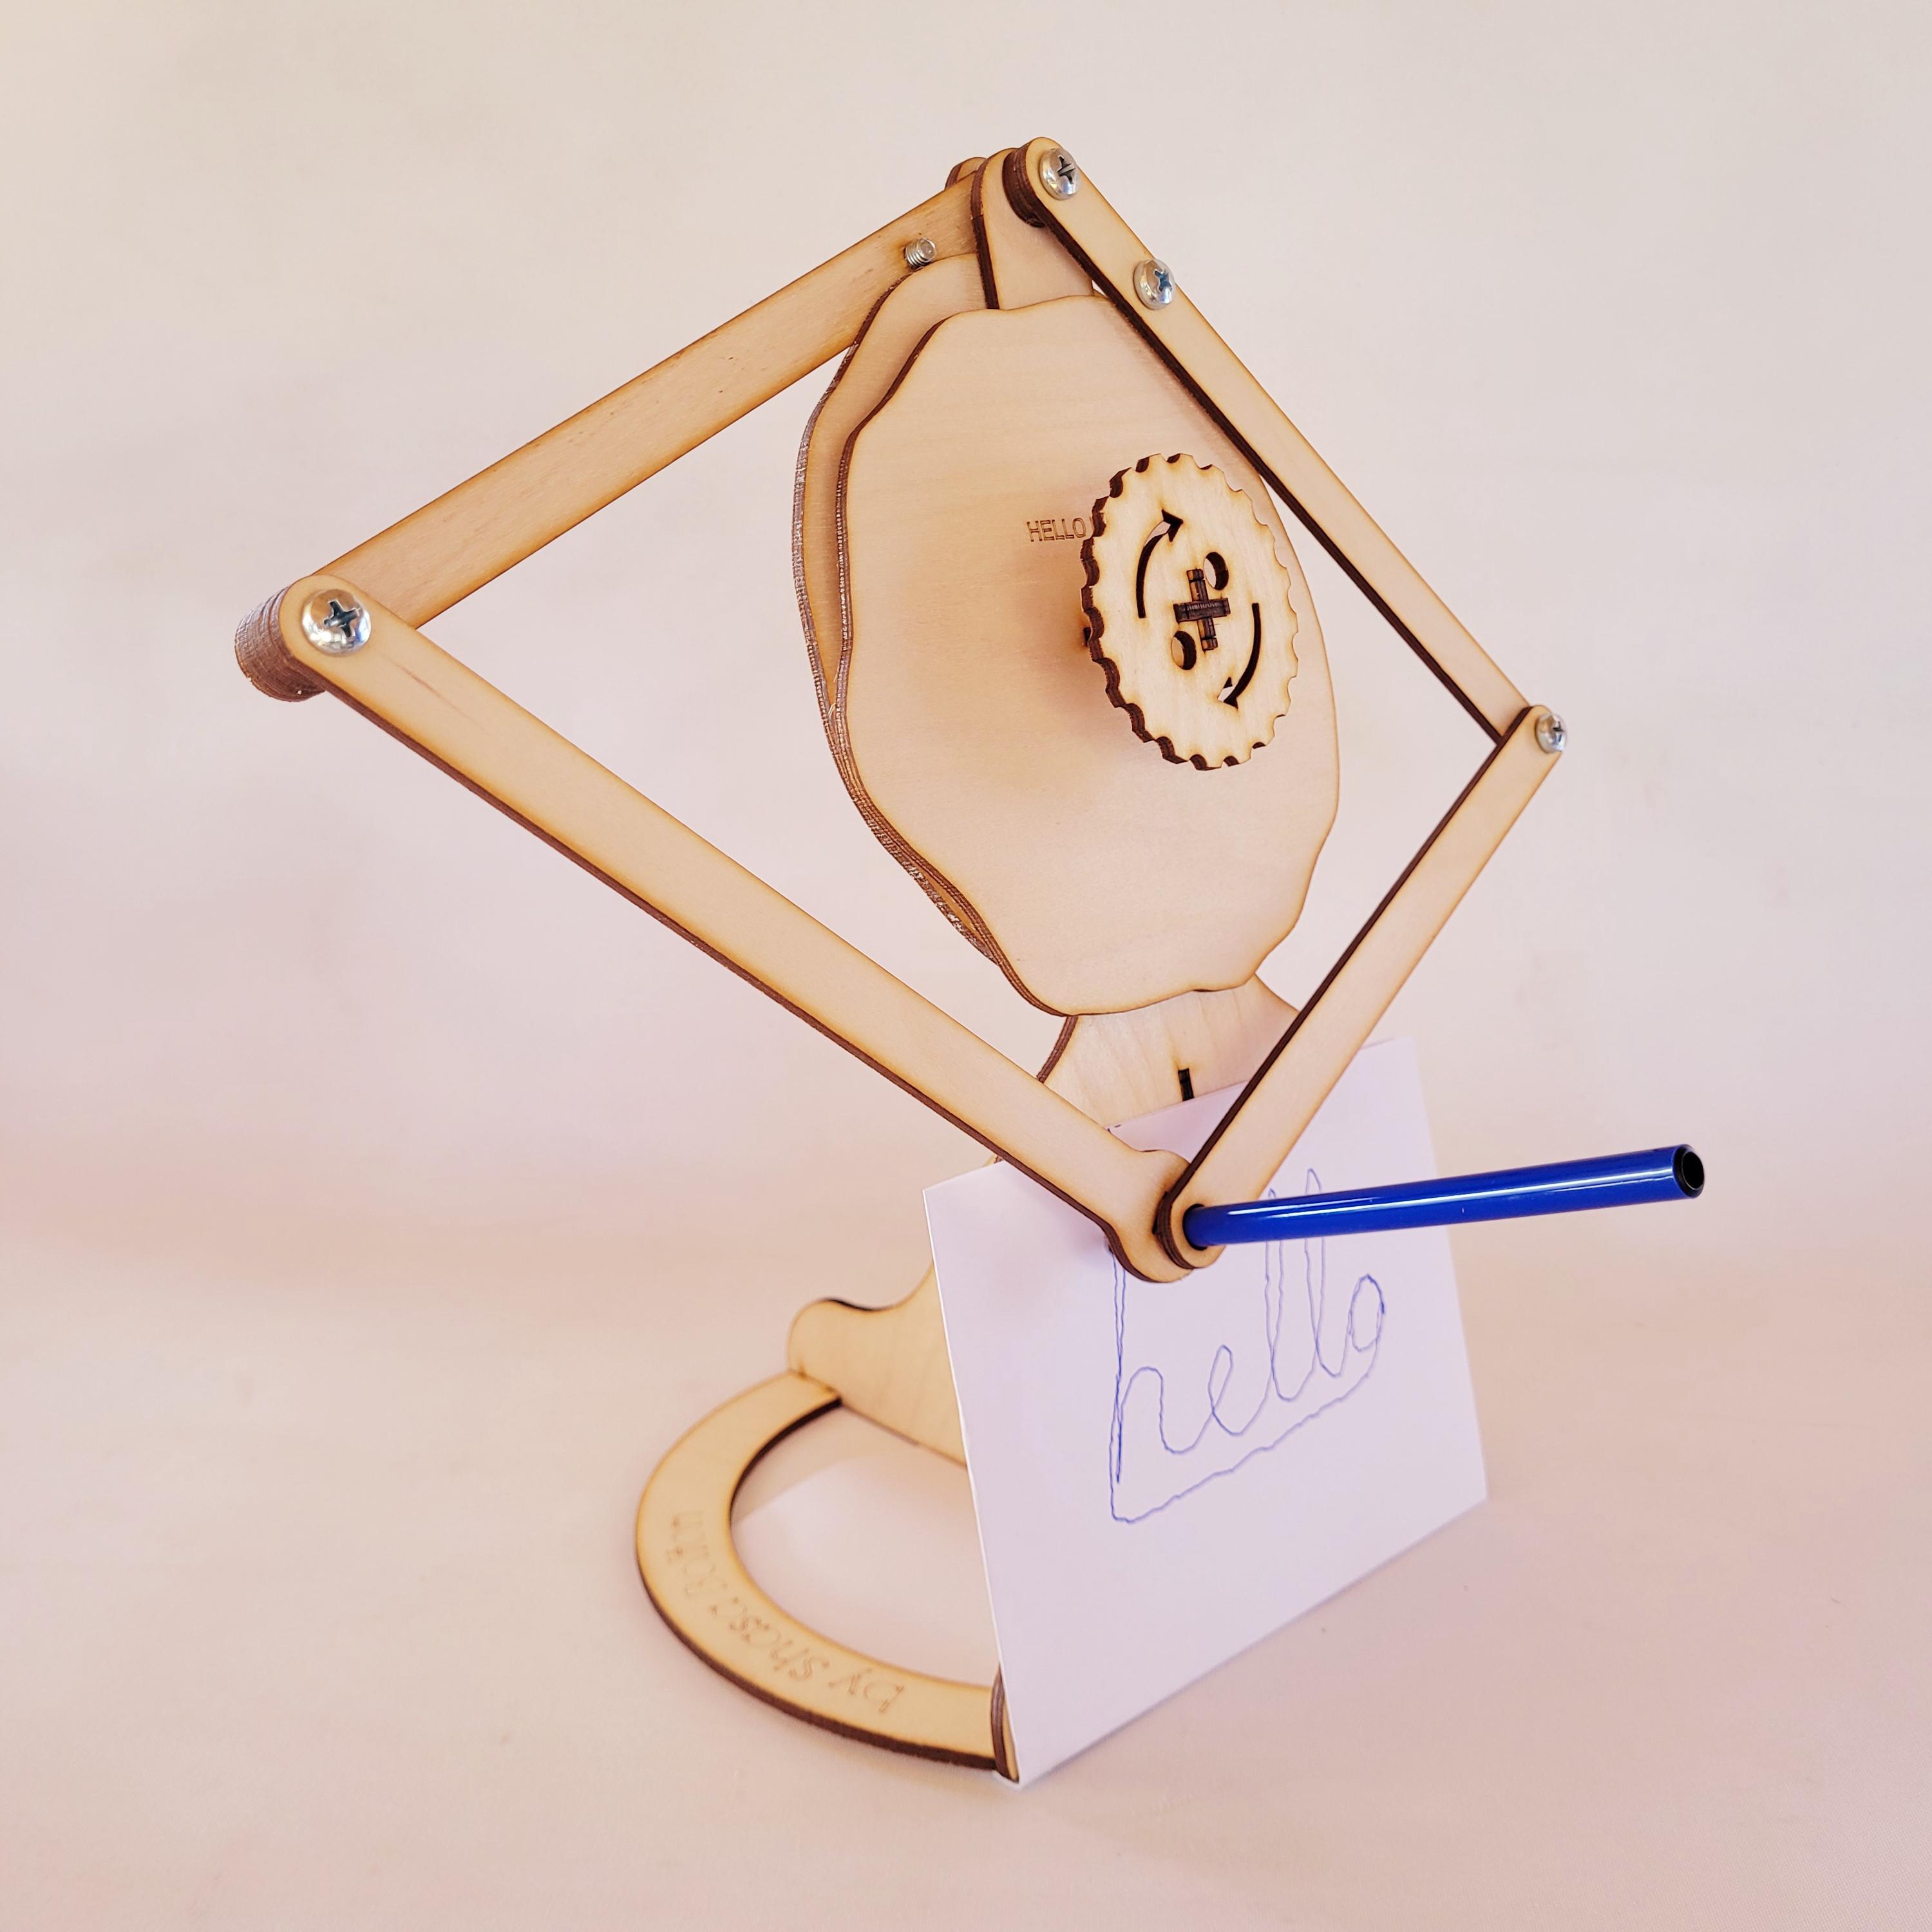
The next design, which I named Lanky Doodler, used a pantograph-style mechanism with a large parallelogram that pivoted at the top. This made it easier to increase the size of the drawing that could be made. I also went back to two separate cams to allow more detail to be stored. The forearms have follower screws that ride on the cams. I like this design because it is quite easy for people to see how the cams dictate the output of the sketch. I try to make designs that only use laser-cut parts, as it makes it easier for people to make at home without needing to source many components. This one does use screws for the joints, but these are not too hard to source. I wanted to avoid the need for springs or weights, so I put the entire board on an angle. It relies on gravity to keep the followers against the cams and to hold the pen down on the page. Since there is now no control over the pressure of the pen on the page, I found a very soft 12B pencil or a felt pen works best for a nice dark sketch.
The video below shows the Lanky Doodler in action — turn the crank and watch it sketch a message.
Generating the cams
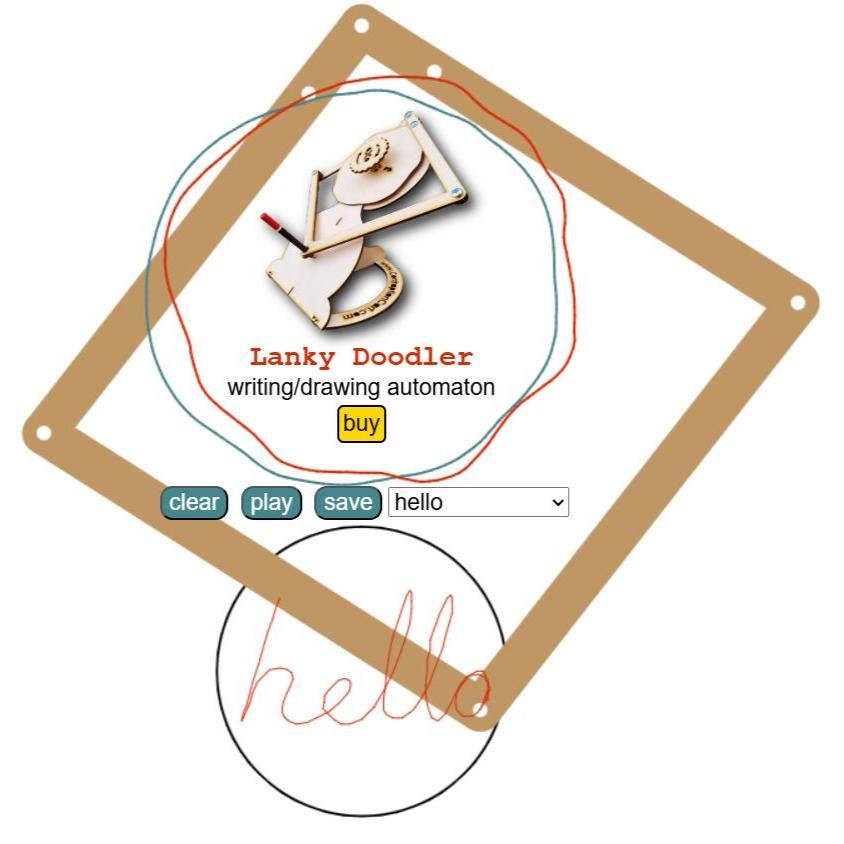
The most interesting part of these machines is generating the cams that store the sketch. First, you need some maths to find a formula that maps the pencil tip's x,y coordinates to the cam radius required. This will be different depending on the method and geometry of the mechanism. Once I had that figured out, I decided the best way to generate the cams would be to write some custom software. This way people could draw a sketch on a computer screen. The app then stores it as discrete coordinates, converts those to cam radii with the specific formula, and spaces them evenly around the 360 degrees of the cam. These are then joined into an SVG vector that can be cut on a laser cutter or scroll saw. The latest cam generator app I wrote in JavaScript so it runs in a web browser, meaning people can use it without needing to download anything. You can try it out using the button below.
Improvements
One improvement would certainly be the ability to lift the pen off the page. In these designs we are restricted to sketches and words that are all one continuous path. This would require another cam responsible for z position. Perhaps I will address this in a future design.
My latest design is at least reasonably simple for people to make and intuitive to understand. You can design your own cams in the free web app, then swap them in and out of the same machine to write a new message — no need to rebuild the automaton each time.
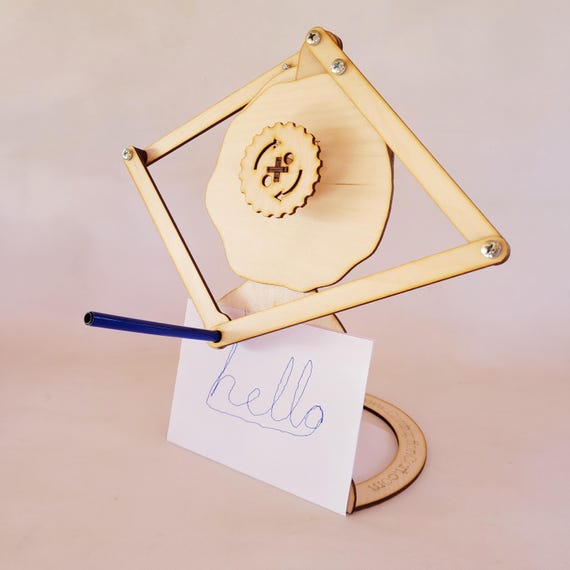
I sell the Lanky Doodler as digital plans to laser cut or scroll saw yourself, as a posted kit with all the parts for you to assemble in about 40 minutes, or as a complete assembled automaton ready to draw and write. Premade cam sets include messages like "hello" and "love you", or you can generate custom cams for a name or short sketch. See the product listing just below.
Frequently asked questions
Can I write my own message? Yes. Use the free cam generator app to draw a short sketch or message, then download the cam profiles to cut yourself or order custom cams at checkout.
Do I need a laser cutter? Not necessarily. You can buy the Lanky Doodler kit with pre-cut parts, order it fully assembled, or download digital plans if you already have access to a laser cutter or scroll saw.
How long does it take to build? About 40 minutes. The parts slot together without glue.
What pen or pencil works best? A standard felt pen gives the darkest lines. A very soft 12B pencil also works well.
Lankydoodler
AUD$49.00